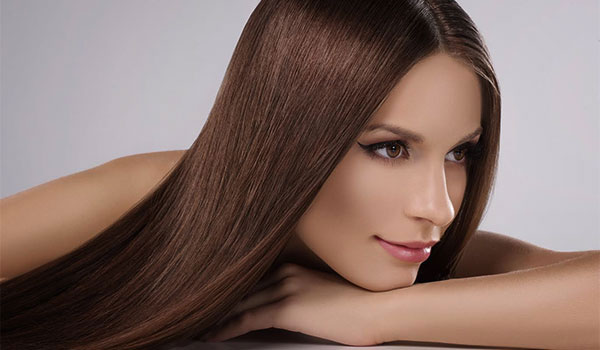
So before you stress about ever achieving your hair goals, we’re here to show you the right way to go about hair straightening at home for silky smooth tresses that stay!
Step 1: Get to the root of it

In order to keep the frizz away, hair is best straightened when it is unwashed. But to prevent any limpness that lingers on unwashed hair, dust the BedHead by TIGI Sugar Dust on your roots. Being a micro-texture powder for your roots, it will absorb any oil on your scalp and give your hair amazing lift, serving as the ideal base for your hairstyle.
Step 2: Brush it off
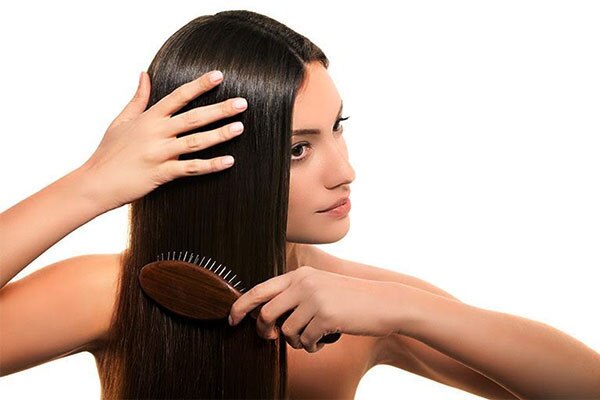
Take a flat paddle brush and brush through your entire head of hair, starting a little above the roots until the ends of your hair. This hair straightening tip will detangle any knots and prepare a smooth base to start your hairstyle with.
Step 3: Prep away

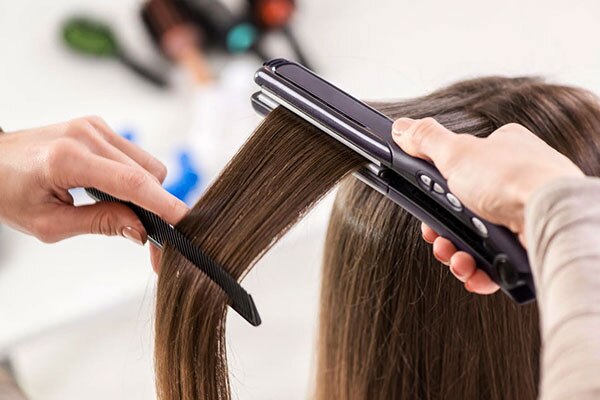
Before entering the styling process, spritz your hair with a heat protectant spray, which will envelope your hair from heat and damage while being styled. An important hair straightening pointer to remember when dividing your hair is, the smaller the section of your hair, the straighter it will be. Hence, divide your hair into 3 layers with hair clips, the base near your nape, the midsection and the top and near your crown. Further divide this into smaller chunks of hair where each section consists of hair that is an inch in width.
Step 4: Flat and fabulous
Choosing the right type of flat iron is crucial to the straightening process so opt for an ionic flat iron made of ceramic or titanium material, both of which allow for heat to be evenly distributed while the ions remove the frizz within the hair. Size matters, in the case of the flat iron. Hence, a regular sized flat iron is fine for medium to long lengths but if you’ve got hair that is the shoulder length or above, you might consider a smaller sized flat iron that becomes easier to maneuver.
For the straightening process, start by brushing the section with rounded ceramic brush which is meant for styling. Starting from the root, move your flat iron towards your ends, holding it for a few seconds on the hair. Slowly work your way through the hair layers from root to tip, carefully going section by section. It is a slow process but remember, good things take time.
Step 5: Seal it in

Once your hair has been straightened, don’t forget to seal it in with the final step. Spray the BedHead by TIGI Maxxed Out Hairspray on your hair (from about 10 to 12 inches away.) With its massive hold and super shine, the hairspray will keep your hair intact for hours to come while giving it a shine for a sleek appeal.


 Privacy Notice
Written by Dayle Pereira on 10th Feb 2016