


- Step 1- Getting Ready
Before you begin, you will need to get a few things in order…
a) Choosing the right colour is essential, depending on the kind of touch-up you desire. For covering greys and existing hair colour, choose a shade that exactly matches the rest of the hair.
b) Shampoo your hair thoroughly to remove dirt and oil. Dry it completely and comb out any tangles present.
c) Place a plastic sheet or newspaper over your work area, and wear an old buttoned up shirt that covers the back and shoulders. This is to prevent staining in case the dye drips.
d) Divide and clip up the hair in sections. Start with the first which begins at the forehead down to the nape of the neck. The rest should run from ear to ear across the head.
e) Next, apply petroleum jelly or coconut oil all along the hairline and on the nape of the neck to lock the dye in, preventing it from staining the skin.
f) Be sure to first wear a pair of gloves. Using a bowl, prepare the dye by mixing ingredients as per instructions on the box. The applicator brush, bowl, gloves and ingredients are generally provided in the kit.

- Step 2-The Application Process
- Step 3-Finish & Clean Up: Time to wash up!
Now that you've finished prepping, let's get down to it!
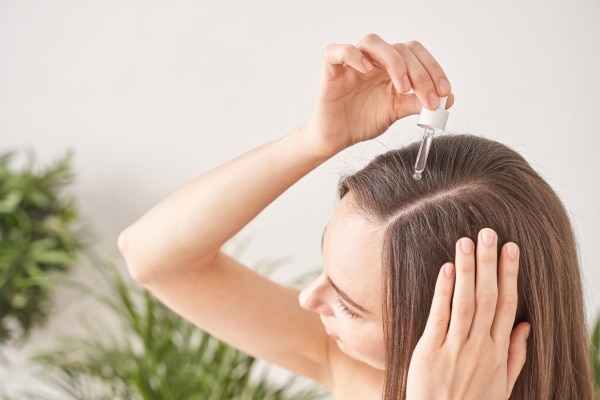
a) Start by unclipping a front portion of the hair. Now use the end of a tail comb to separate a thin section from this larger portion.
b) Use the brush to apply the dye onto your roots at the parting line. Be sure to paint the dye onto your roots on both sides of the parting.
c) Use the tail comb to flip the section that has been dyed and clip it up.
d) Continue the same with all sections until the main portion or segment is done. Clip up the entire segment, attaching the clip below the coloured roots as far as possible.
e) Now repeat this process for the other segments as well.
f) When all portions of the hair are done, place a mirror in front of you and another at the back to help you check the back of the head for any missed spots.
g) Wear a shower cap to keep the hair warm. This facilitates better colour development.
h) Now refer to the box to determine the length of time the colour needs to develop. Set a timer so you know when to wash it off.
a) Once the required time has passed, hit the shower and thoroughly rinse off all the dye with warm water. Continue rinsing until the water runs clear.
b) Avoid shampooing for 48 hours, so as to allow your hair to fully absorb the colour.
c) Next, apply a colour-friendly conditioner on the ends of the hair and let it seep in for 5-10 minutes. Rinse well with cold water. This seals the hair shaft and helps lock the colour in.
d) Allow the hair to dry naturally before styling, since tools such as hair-driers can adversely affect colour.


 Privacy Notice
Written by Scherazade Patel on 15th Nov 2017